How to stream to multiple servers with butt
As you probably know
butt does not offer the ability to stream to multiple
servers at the same time. However you can run multiple
butt instances simultaneously and use each instance for
a different server.
By default all butt instances share one configuration file. Because this is unfavorable, this document describes how you can run multiple butt instances with different configurations. The process is different for each operating system. Therefore the following three sections describe how to do this for Windows, MacOS and Linux. The description assumes that you already have at least two servers added to your default butt configuration.
Windows:
To
start butt with a specific configuration file we first
have to create that
file. In this
tutorial we will export two configurations with
different servers and save them to a folder called “butt” on our Desktop. Of course you
can save the configurations to anyplace you want.
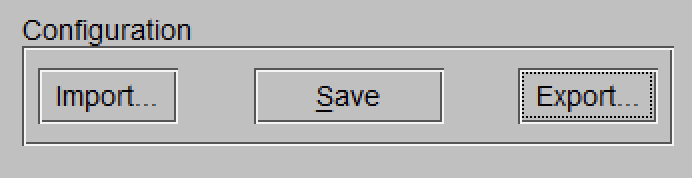
First we open the settings window of butt and select the first server.

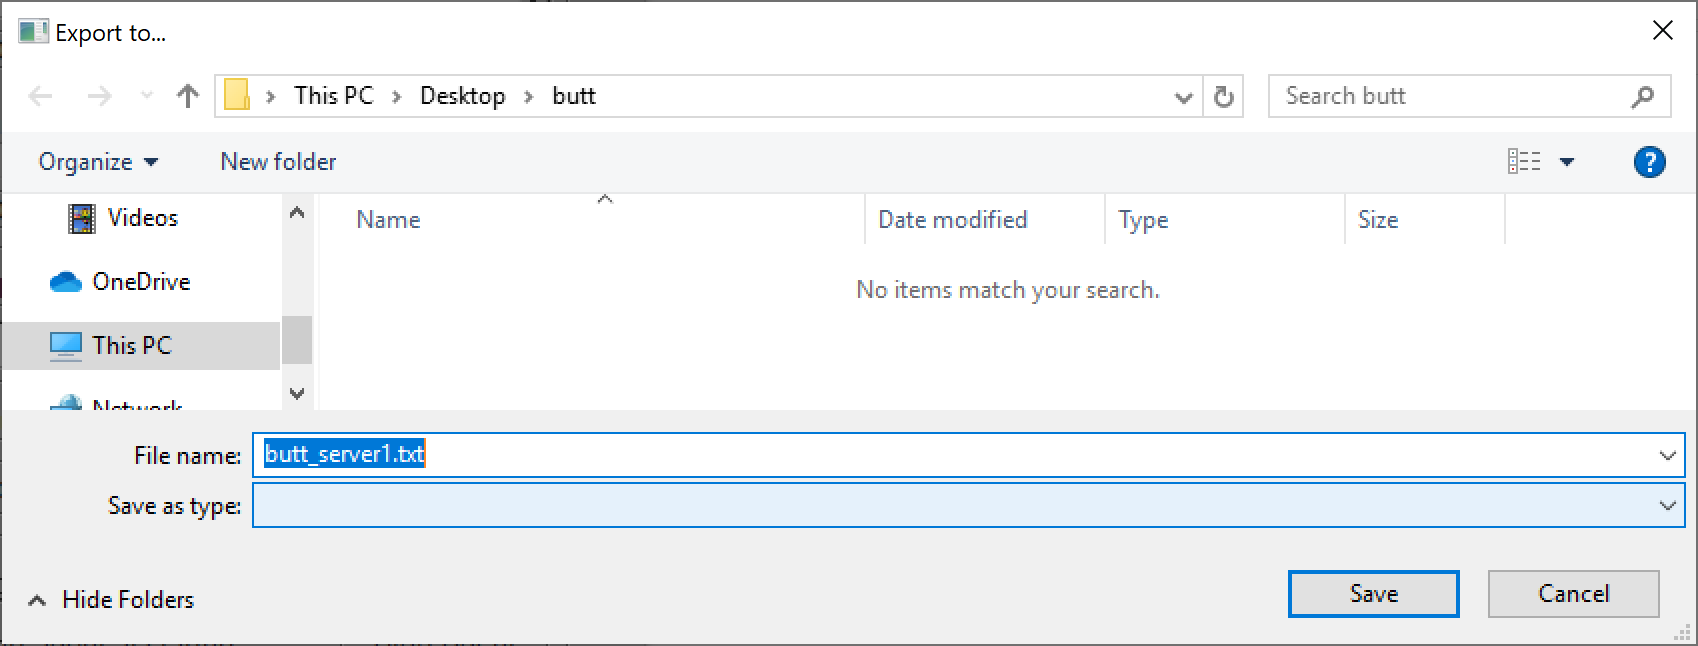
Next we click the Export
button and savethe configuration file to the “butt” folder on
our Desktop.
We will call the file “butt_server1.txt”.
Now we
we can select the second server in butt and export the
configuration to the same folder but call it “butt_server2.txt” this
time.
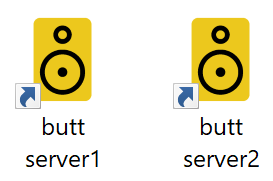
To start butt with either the server1 or server2 configuration we create two copies of the original butt shortcut on our Desktop and call them “butt server1” and “butt server2”.
To start butt with either the server1 or server2 configuration we create two copies of the original butt shortcut on our Desktop and call them “butt server1” and “butt server2”.
We now
have to change the properties of each shortcut. To do
so we right click on the shortcut and click on “Properties”.
By default the Target field contains the path to the
butt executable. In my case that is
C:\Users\daniel\AppData\Local\butt\butt.exe
C:\Users\daniel\AppData\Local\butt\butt.exe
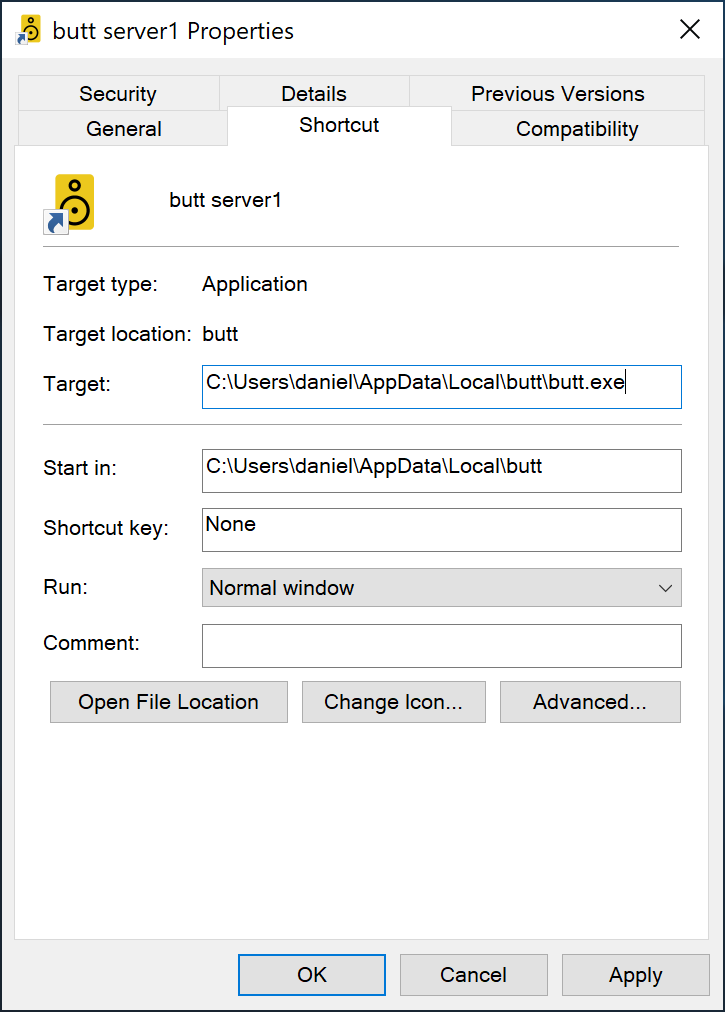
We have
to extend the Target field such that it becomes:
C:\Users\daniel\AppData\Local\butt\butt.exe -c "C:\Users\daniel\Desktop\butt\butt_server1.txt"
Please make sure that you put the path to the configuration file into double quotes. This is important in case your username contains spaces.
C:\Users\daniel\AppData\Local\butt\butt.exe -c "C:\Users\daniel\Desktop\butt\butt_server1.txt"
Please make sure that you put the path to the configuration file into double quotes. This is important in case your username contains spaces.
Repeat
the above steps for the second shortcut but use the
path to the second configuration file this time:
Finally
you can start butt with either the server1 or server2
configuration by simply double clicking the corresponding
shortcut.
MacOS:
To start
butt with a specific configuration file we first have to create that file. In this tutorial we will
export two
configurations with different servers and save them to a folder called “butt” on our Desktop. Of course you
can save the configurations to any place you want.
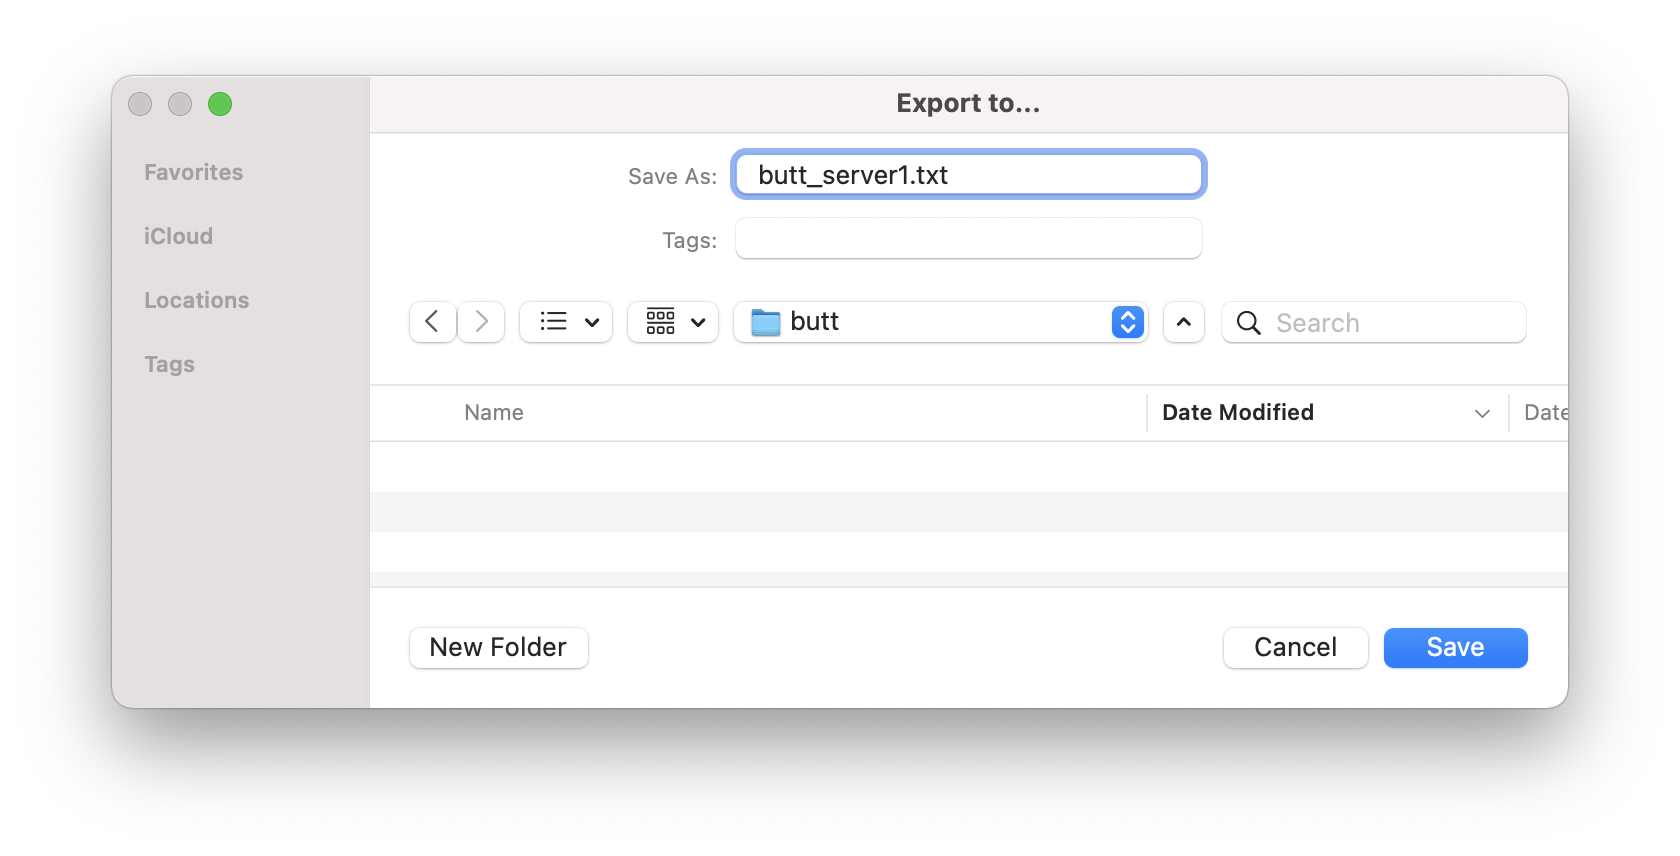
First we open the settings window of butt and select the first server.
Next we click the Export button and save the configuration file to the “butt” folder on our Desktop.
We will call the file “butt_server1.txt”.
We can
now select the second server in butt and export the
configuration to the same folder but call it “butt_server2.txt” this
time.
To start butt with a specific configuration file we need to write a little Apple Script:
- Open the Finder and go to Applications/Utilities and start the Script Editor.app
- Click on “New Document”
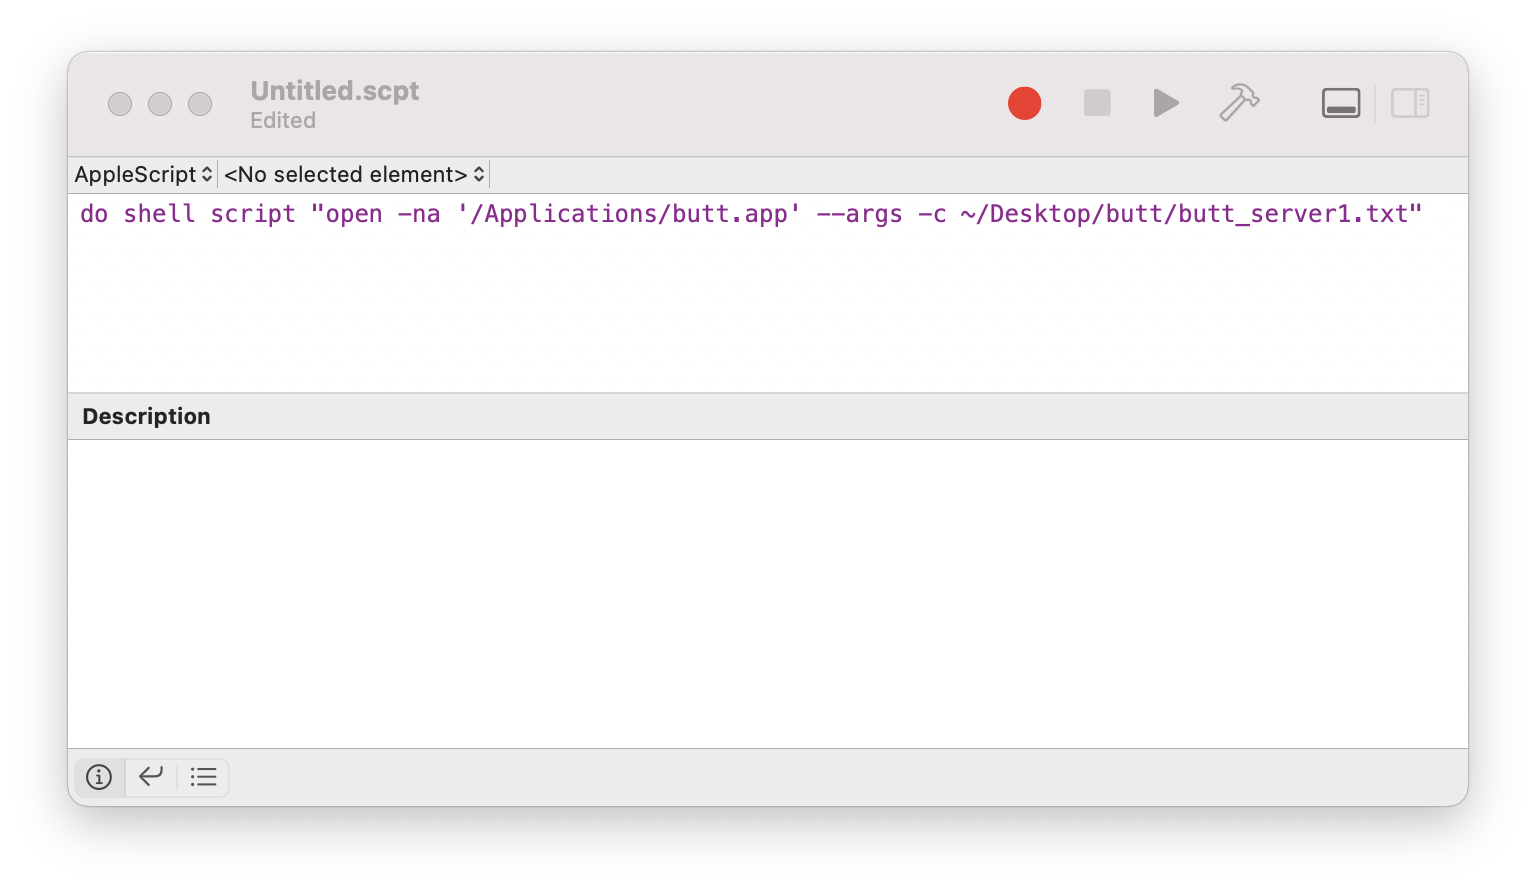
- Now paste the following line into the Script Editor
- do shell script "open -na '/Applications/butt.app' --args -c ~/Desktop/butt/butt_server1.txt"
The result should look like in the screenshot below:
To
test the script click on the play symbol. With a bit of
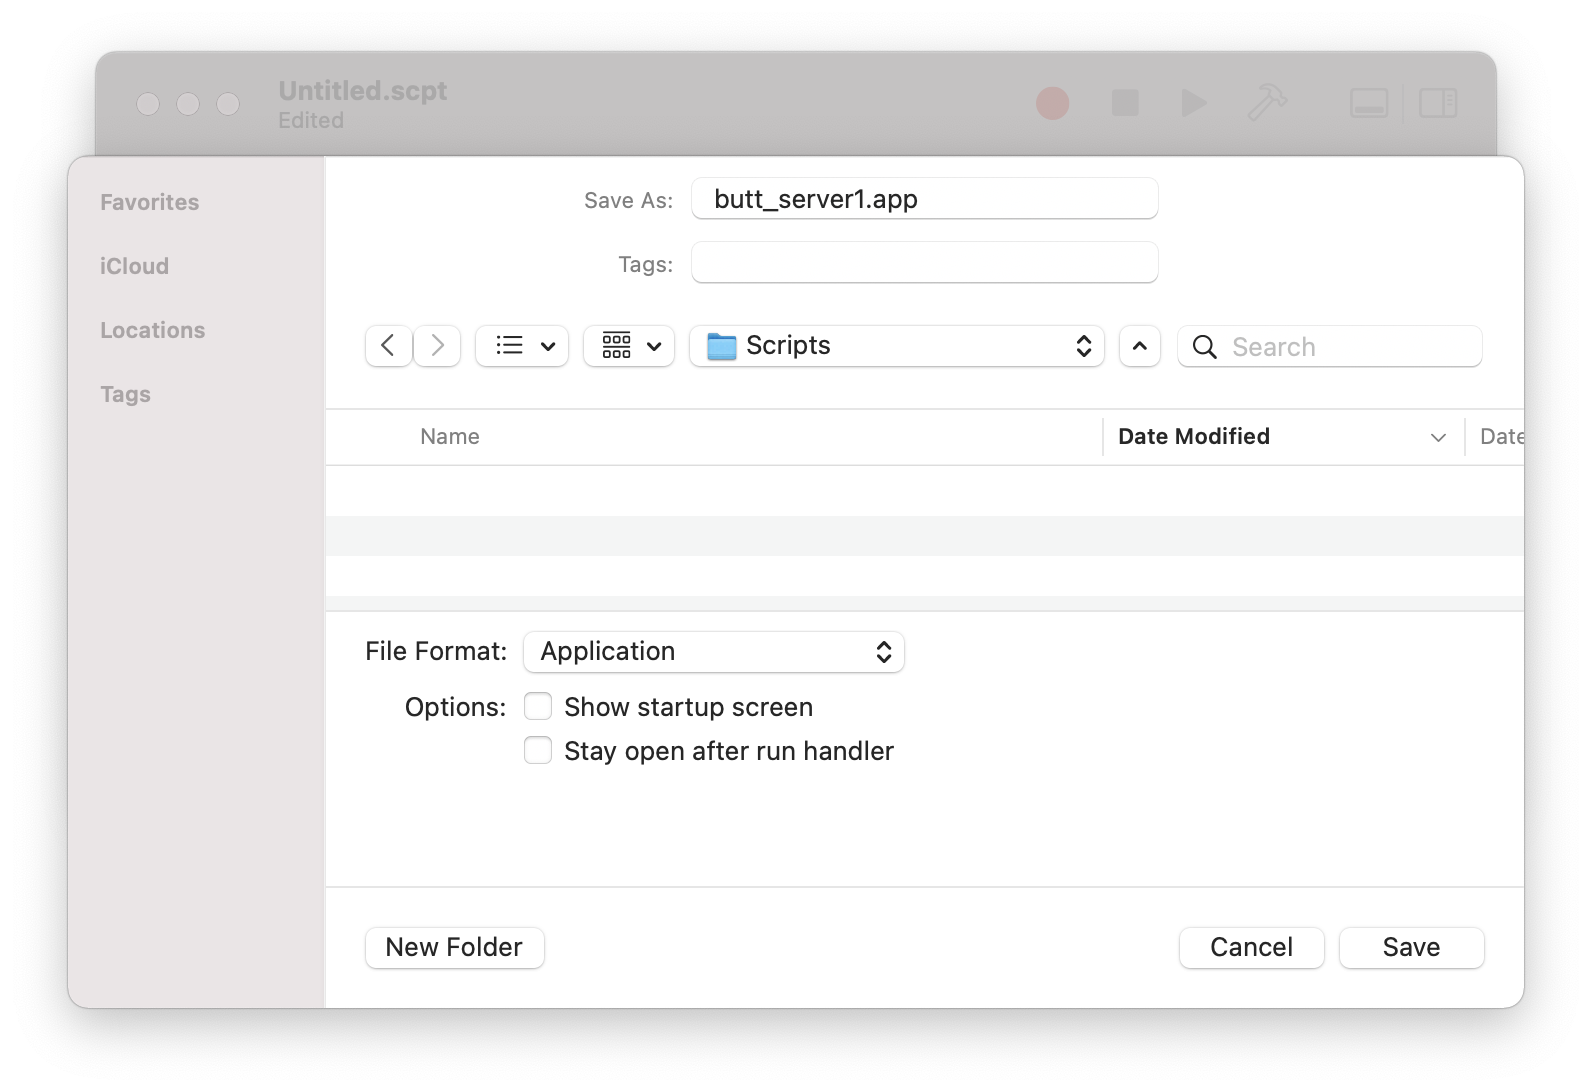
luck butt will open now. Next we can close butt and save
the script to the subdirectory Scripts in the Applications
folder. To do so we go back
to the Script Editor and select File→Save… Make sure that the
File Format is set to Application.
In the
script window change the text butt_server1.txt to
butt_server2.txt and save this script as butt_server2.app.
Now you
can start butt with the first server configuration by
launching butt_server1.app. To start butt with the
second server configuration launch the
butt_server2.app.
Linux:
To start butt with a specific configuration file we first have to create that file. In this tutorial we will export two configurations with different servers and save them to our home directory. Of course you can save the configurations to any place you want.
To start butt with a specific configuration file we first have to create that file. In this tutorial we will export two configurations with different servers and save them to our home directory. Of course you can save the configurations to any place you want.
First we open the settings window of butt and select the first server.
Next we click the Export button and save the configuration file to our home directory.
We will
call the file “butt_server1.txt”.
Now we can select the second server in butt and export the configuration as “butt_server2.txt” to our home directory.
Now we can select the second server in butt and export the configuration as “butt_server2.txt” to our home directory.
To start
butt with the first server configuration open a
terminal window and enter
butt -c ~/butt_server1.txt To start butt with the
second configuration start a new terminal and enter
butt -c ~/butt_server2.txt To run both instances from
the same terminal you can type
butt -c ~/butt_server1.txt
& butt -c ~/butt_server2.txt